

Guitar Pedal Effects Chain: The Best Order for Every Pedal
Posted by Jon Cusack on 27th Oct 2026
Guitar Pedal Effects Chain: The Best Order for Every Pedal
Plug five pedals into each other in a random order and you will probably get sound. Plug them in a thoughtful order and you will get a rig that feels like part of your playing. That is the real value of a well-planned guitar pedal effects chain: each pedal gets the signal it was designed to receive, so your tone stays clear, your effects stay musical, and your noise stays under control.
This guide covers the standard guitar effects order, why it works, how to connect everything, and when it makes sense to break the rules.
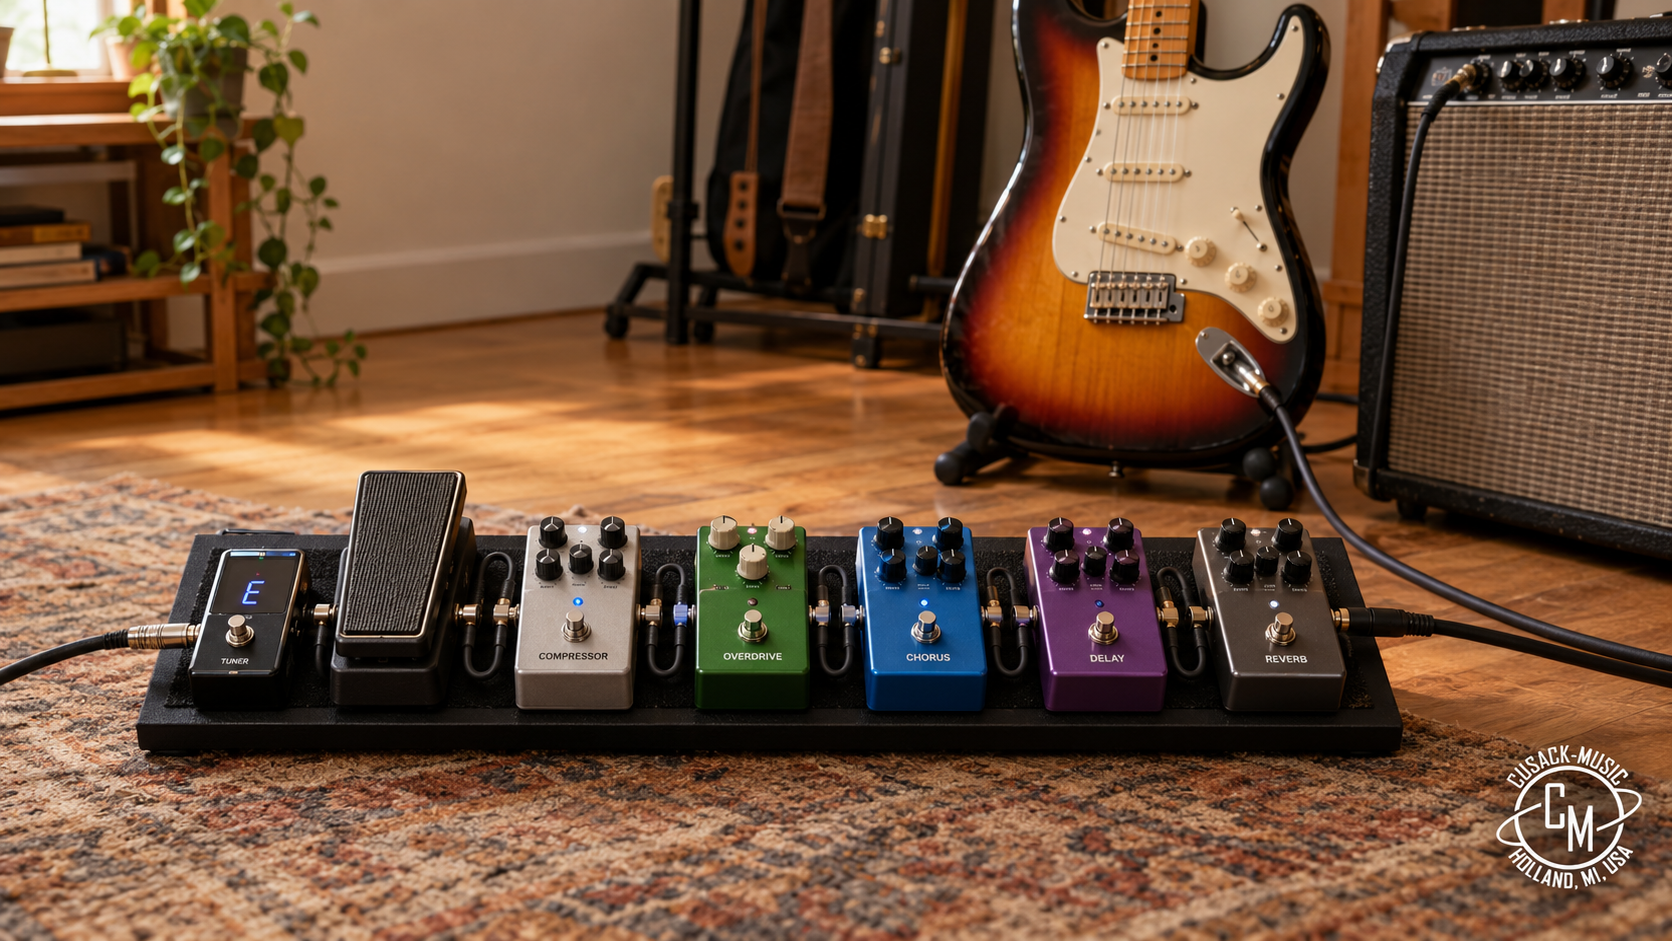
What Is a Guitar Pedal Effects Chain?
A guitar pedal effects chain is the sequence of pedals your signal passes through on its way from your guitar to your amp. Your guitar’s output goes into the first pedal, that pedal’s output goes into the next, and so on until the last pedal feeds your amplifier.
Order matters because every pedal changes the signal that the next pedal hears. A delay placed before a distortion pedal gets distorted along with your notes, repeats and all. The same delay placed after the distortion gives you clean, defined echoes of an already overdriven tone. Same two pedals, very different results.
How Does a Guitar Pedal Work?
If you are newer to pedals, a quick primer helps the order make sense. A guitar pedal takes the electrical signal from your pickups, changes it in some way, and passes it along. Some pedals add gain and clip the waveform (distortion, overdrive, fuzz). Some shape frequencies (wah, EQ). Some vary the signal over time (chorus, tremolo, phaser). Others copy the signal and play it back later (delay and reverb).
Because each stage works on whatever it receives, the chain behaves like a series of filters and processors. Understanding what each type of pedal does to the signal is the key to understanding why the standard order exists.
The Standard Guitar Effects Order
Here is the most widely used effects pedal order, from guitar to amp:
- Tuner
- Wah and filter pedals
- Compressor
- Distortion, overdrive, and fuzz
- EQ
- Modulation (chorus, flanger, phaser)
- Tremolo
- Delay
- Reverb
- Volume pedal (optional)
Think of it as three zones: tone shaping first, gain in the middle, and time or space effects at the end. Let’s walk through each.
1. Tuner
Most players put the tuner first. It receives the cleanest, most direct signal from your guitar, which helps it track pitch accurately. Many tuner pedals also mute the output when engaged, so you can tune silently on stage without anything downstream making noise.
2. Wah and Filter Pedals
A wah pedal is a sweeping filter, and it responds to the character of your guitar’s raw signal. Placed before your drive pedals, it changes how your pickups drive the gain stage, which gives the classic vocal, expressive sound heard in rock and funk. Placed after distortion, a wah sweeps a heavily saturated signal, which sounds more extreme and synthetic. Neither is wrong. Before drive is simply the traditional choice.
3. Compressor
A compressor evens out the dynamics of your playing by reducing the volume of loud notes and raising quiet ones. Early in the chain, it hands consistent signal to your drive pedals and keeps the whole rig feeling smooth. Some players prefer it after their gain pedals instead, which can tame spikes in a high-gain tone. Start early and move it if it does not suit your sound.
4. Overdrive, Distortion, and Fuzz
This is the heart of most pedalboards. Overdrive pedals add warm, amp-like breakup, distortion pedals add heavier clipping, and fuzz pedals produce thick, saturated, often gated tones.
A common approach is to run them from lightest to heaviest gain: a boost or overdrive first, then distortion. Stacking an overdrive into a distortion pedal can tighten the low end and add sustain, because the overdrive pushes the distortion stage harder. If you want a closer look at gain pedals, Cusack Music organizes its drive, fuzz, and boost pedals in one category, which is a handy place to compare options. The Project 34 Pre/Drive is one example of a drive pedal you can browse there.
A note on fuzz: many classic fuzz circuits react strongly to what comes before them, especially to the pickups’ output and cable loading. Some players put fuzz first in the chain, even ahead of a wah, to let it see the guitar directly. If your fuzz sounds thin or gated, try moving it to the front.
5. EQ
An equalizer can sit in two useful places. Before your drive pedals, it shapes which frequencies get pushed into distortion (for example, a mid boost to make a lead sing). After your drive pedals, it works as a final tone control, cutting harsh highs or tightening up boomy lows. Many players keep one in each spot, but one is plenty to start.
6. Modulation: Chorus, Flanger, and Phaser
A chorus pedal, along with flangers and phasers, adds movement by modulating the signal. These pedals generally sound best after your gain stage. A chorus placed after distortion produces a lush, wide wash. A chorus placed before a heavily distorted pedal can turn muddy or sound strangely processed, since the distortion compresses and flattens the delicate modulation.
7. Tremolo
Tremolo varies your volume rhythmically, and it fits naturally after modulation and before delay and reverb. This placement lets the repeats and reverb tails stay smooth rather than getting chopped up by the tremolo pulse. If you want to try the opposite, tremolo after delay produces a pulsing echo effect that some players love.
For players interested in tremolo specifically, Cusack’s Tap-a-Whirl V4 is an analog tap tempo tremolo, and its tap tempo function makes it easy to lock the pulse to a song’s tempo.
8. Delay
A delay pedal records your signal and plays it back after a set time. Because it copies whatever it receives, you want it to receive your finished tone: drive, modulation, and all. That is why delay sits late in the chain. For a closer look at echo and space options, see Cusack’s delay and reverb pedals.
9. Reverb
Reverb is usually last, because it simulates the room your sound lives in. Everything your rig does should sit inside that space, including the delay repeats. Reverb before delay is a valid creative choice (it makes each repeat sound like a separate reverberant sound), but reverb at the end is the natural default.
10. Volume Pedal
A volume pedal has two common spots. Early in the chain, it controls how hard you drive your pedals and amp, similar to rolling back your guitar’s volume knob. At the end of the chain, it fades everything out cleanly, including delay and reverb tails. Pick based on what you want it to do.
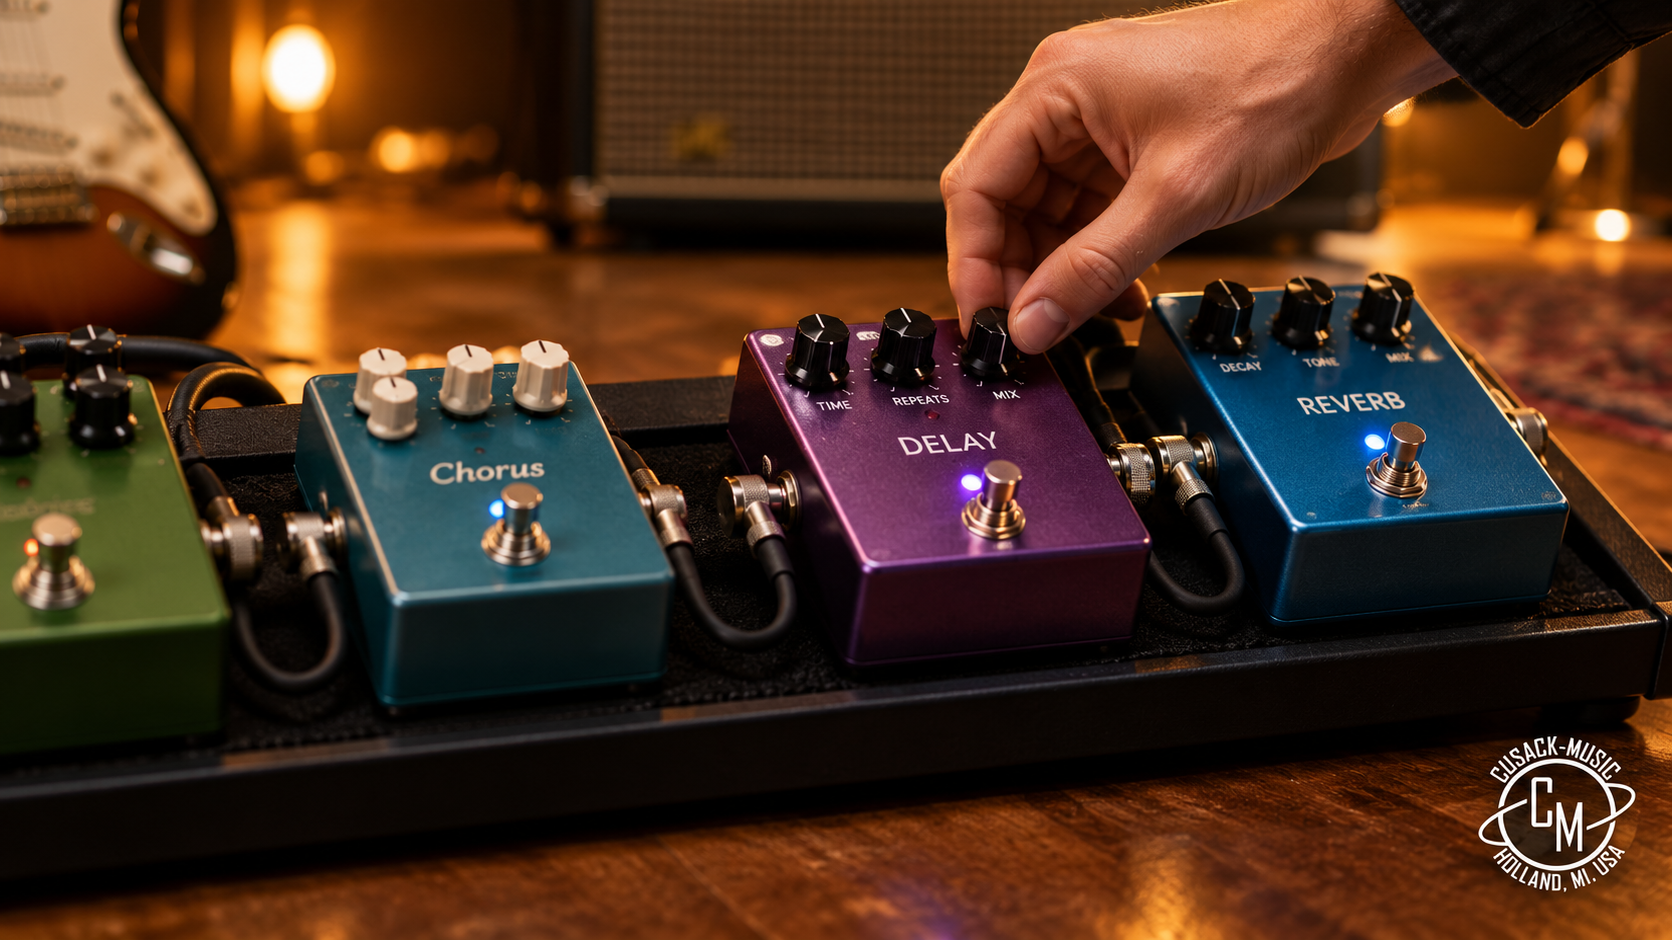
Order of Guitar Effects Pedals
If you just want the short version of the pedal setup order, here it is in plain language:
- Tuner first
- Tone shapers (wah, filter, compressor) next
- Gain pedals in the middle, light to heavy
- Modulation and tremolo after gain
- Delay then reverb at the end
Treat this as a starting point, not a law. Most famous guitar tones come from players who bent the rules.
How to Connect Guitar Pedals
Knowing the order is half the job. Here is how to physically plug in guitar pedals and build a working setup.
Step 1: Gather the Right Cables
You need one instrument cable from your guitar to the first pedal, short patch cables between each pair of pedals, and one cable from the last pedal to your amp. Keep patch cables as short as practical, because long runs add unnecessary cable capacitance and clutter.
Step 2: Mind the Input and Output Jacks
Every pedal has an input and an output, and they are not interchangeable. Your signal flows into the input and out of the output. The jacks are labeled, and most pedals place input on the right side and output on the left when you look at them from the front, but always check the labels on your specific pedal.
Step 3: Connect in Order
Starting from your guitar, go: guitar cable into the tuner input, tuner output into the next pedal’s input, and continue down the chain. The last pedal’s output goes into your amp’s input.
Step 4: Power Everything Properly
Most pedals run on a nine volt DC power supply, though specifications vary, so confirm the voltage, polarity, and current draw for each pedal in its manual before plugging in. A multi-output isolated power supply is usually the best way to run a board, since isolated outputs help reduce hum. Avoid sharing a single daisy-chain adapter among pedals with very different power needs, and never use an adapter that does not match a pedal’s stated requirements.
Step 5: Test Before You Commit
Turn every pedal on, play, and listen. Then switch pedals off one at a time. Fix any noise or tone problems now, before you permanently mount and wire everything to a board.
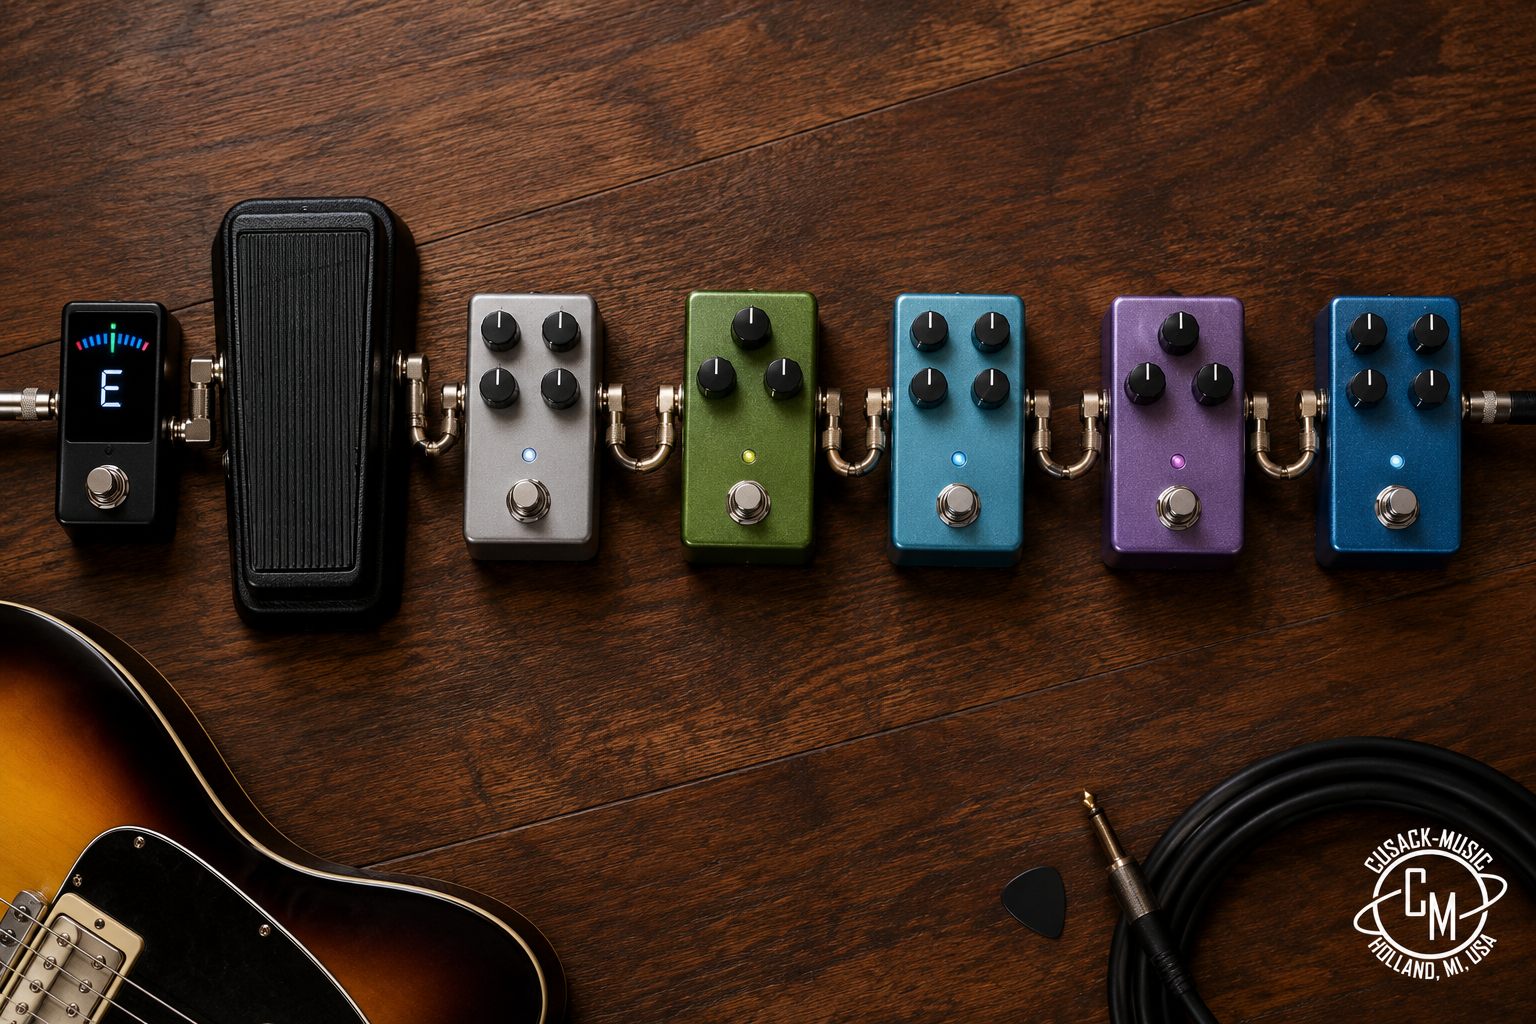
Setting Up a Pedalboard: Guitar Effects Setup Tips
Once the order is right, a few practical choices make a pedalboard more reliable and easier to use.
Plan the Layout
Arrange pedals in the order of your signal chain, left to right as you face the board, so the signal path is easy to follow. Put the pedals you stomp most often in easy reach, and place expression-style pedals such as wah or volume at the front edge where your foot can control them.
Use Short, Neat Cabling
Tidy cables mean fewer surprises. Shorter patch cables, secured so they cannot pull loose, help prevent dropouts mid-gig.
Consider a Switcher for Complex Rigs
If your board is getting large, a loop switcher lets you turn groups of pedals on and off with one stomp. It can also help you tidy your layout and keep your signal path organized. Cusack’s utilities and switchers category is a good place to look when your board outgrows simple one-at-a-time stomping.
Using Your Amp’s Effects Loop
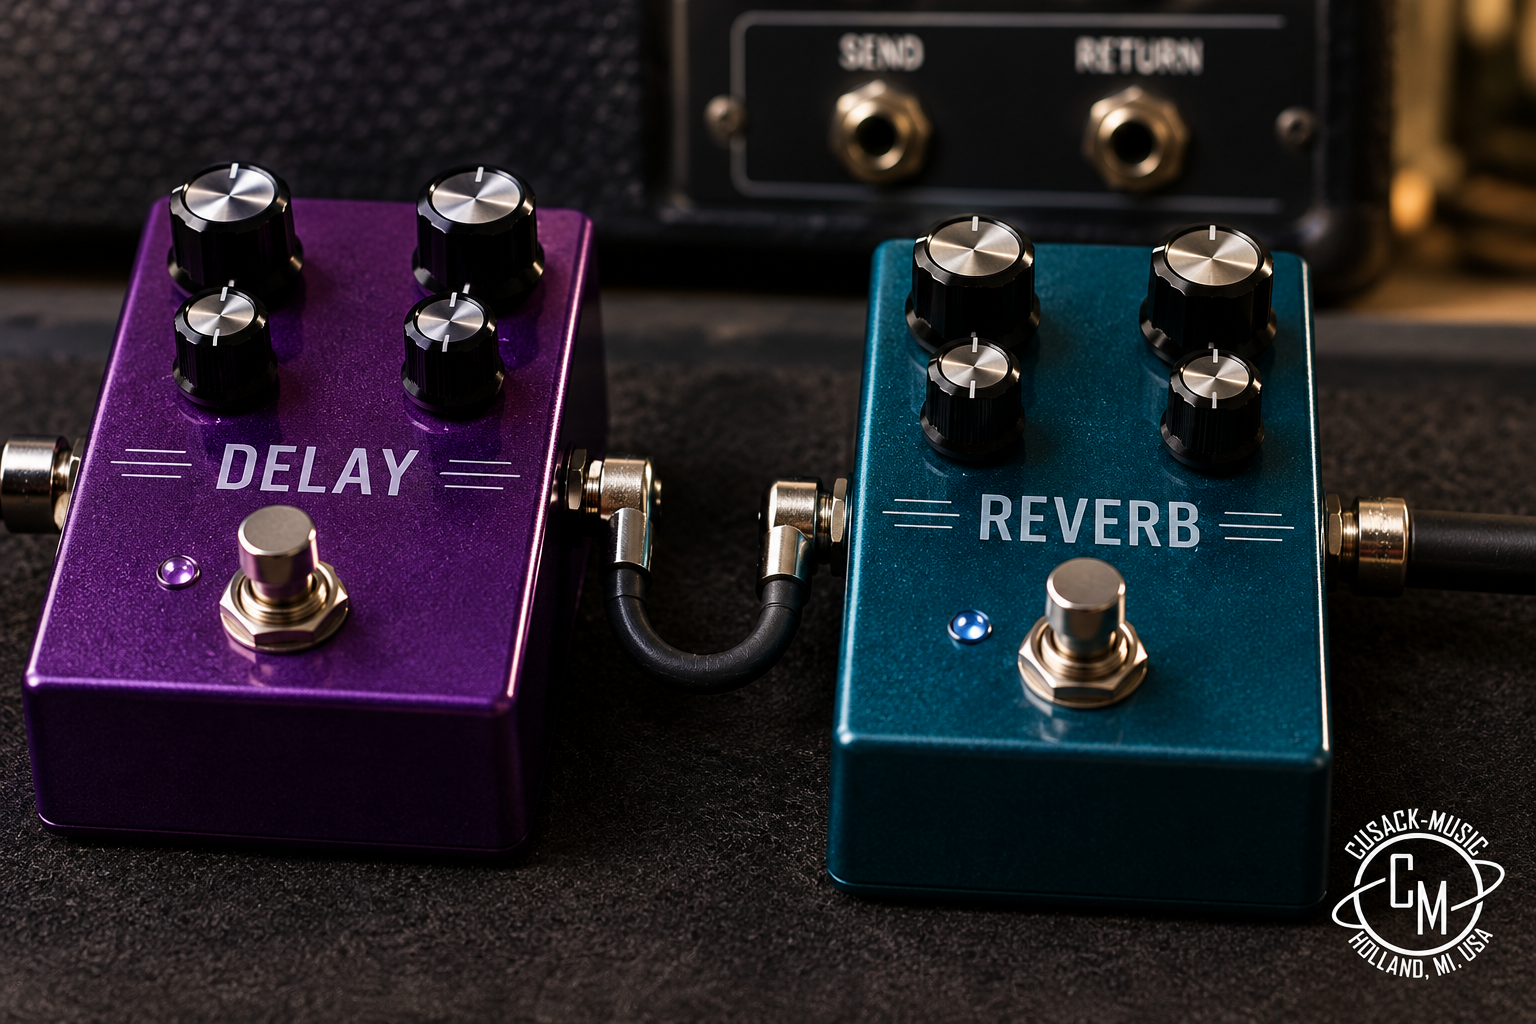
Many guitar amps include an effects loop, with a send and a return jack. Instead of running every pedal in front of the amp, you can split your chain: gain pedals and wah go between your guitar and the amp’s input, while delay, reverb, and modulation go into the loop.
This is useful because most amp preamp sections respond differently to drive pedals than to time-based effects. Time-based effects placed after the preamp tend to sound cleaner and more defined, since they are not being distorted by the amp’s own gain. If you play a high-gain amp, the loop can make delay and reverb sound dramatically clearer. If your amp does not have a loop, running everything in front still works and is perfectly common.
When to Break the Rules
The standard guitar effects order is a smart default, not a requirement. Here are some creative variations worth trying.
- Delay before distortion: The repeats get distorted, creating a thick, chaotic, ambient texture.
- Reverb before drive: The reverb tail gets driven, producing a huge, blown out wash.
- Fuzz before wah: Gives the fuzz a direct line to your guitar for a more responsive feel.
- Compressor after drive: Controls sustain and tames spikes in high-gain tones.
- Modulation before drive: Produces rougher, more unpredictable textures.
If a combination sounds good to you, it is correct.
Troubleshooting Your Pedal Chain
Even a perfect order can run into problems. Here are the most common issues and what to try.
Excess Noise or Hum
Switch to an isolated power supply if you are using a shared adapter. Try moving power cables away from signal cables and away from transformers. If a particular gain pedal is the noisiest, try placing it earlier or later in the chain, or consider a noise gate.
Muddy or Lifeless Tone
Too many pedals engaged at once, or very long cable runs, can dull your sound. Reduce your cable lengths and consider whether every pedal in the chain is truly necessary. If you use many true bypass pedals in series, a buffered pedal placed near the start of the chain can help preserve your high frequencies.
Feedback or Squealing
Reduce gain on the pedal at fault, or lower the volume of delay repeats or reverb. High-gain pedals stacked together are a common source of unwanted squeal.
A Pedal Does Not Seem to Work
Check the input and output direction first. Then confirm the power supply matches the pedal’s requirements and the cables are not damaged. Swap in a different patch cable to rule out a bad one.
Frequently Asked Questions
Does the order of guitar pedals really matter?
Yes, because each pedal processes whatever the previous pedal sends it. Order changes how effects interact, especially with gain, delay, and reverb. That said, there is no single correct answer, and experimenting is part of the fun.
Where does a wah pedal go in the chain?
Traditionally before your distortion and overdrive pedals, which gives the classic expressive sweep. Placing it after your gain pedals gives a more intense, filtered sound.
Should delay or reverb come first?
Delay first, then reverb, is the standard choice. It makes your repeats sound like they are echoing inside a real space. Reversing them creates a more washed out, ambient texture.
Should I put pedals in front of the amp or in the effects loop?
Gain pedals and wah typically go in front of the amp. Delay, reverb, and modulation often sound clearer in the loop, particularly on high-gain amps. If your amp has no loop, running everything in front works fine.
How many pedals can I run in one chain?
There is no fixed limit. The practical limits are power supply capacity, tone loss from too many pedals or long cables, and how manageable the board is. Start with the pedals you actually use, and add more only when you need them.
Final Thoughts
A good guitar pedal effects chain starts with a simple principle: shape the tone first, add gain in the middle, and finish with time and space effects. From there, tune it to your hands, your amp, and your ears. Use the standard order as a foundation, then bend it when your sound calls for it.
When you are ready to build or expand your board, browse the full range of Cusack Music pedals, explore the modulation pedals for chorus-style movement, or check the Cusack Music blog for more setup ideas.